7 Rail Light Buying Tips for Global Buyers
A rail light can look impressive in a catalog and still disappoint above a real counter. Beam angle, track compatibility, color consistency, and service support determine how it performs after installation. For global buyers, small details matter: the connector must match the track, the finish should suit the space, and the beam should land where people work or shop. A bright sample is not enough.
Lighting designer and engineer James R. Benya is a relevant authority on lighting design. I can’t verify a verbatim statement from him specifically about rail lights, so I won’t invent one. A practical paraphrase of established lighting-design principles is: “Choose the light for the task, then confirm that the fixture and system work together.” Treat that as a paraphrase, not a direct quotation.
This guide shares seven checks buyers can use before requesting samples or comparing supplier offers. Look closely at the product sheet. Confirm wattage, lumen output, beam angle, dimming method, track type, and warranty terms. Ask for a real installation photo, not only a polished render. Then compare what the supplier promises with what the product documentation actually shows. Some details may still be unclear; that is a reason to ask, not to guess. A careful rail light purchase starts with specific questions and ends with a fixture suited to its intended space.
What Rail Lights Are and How Their Main Components Work
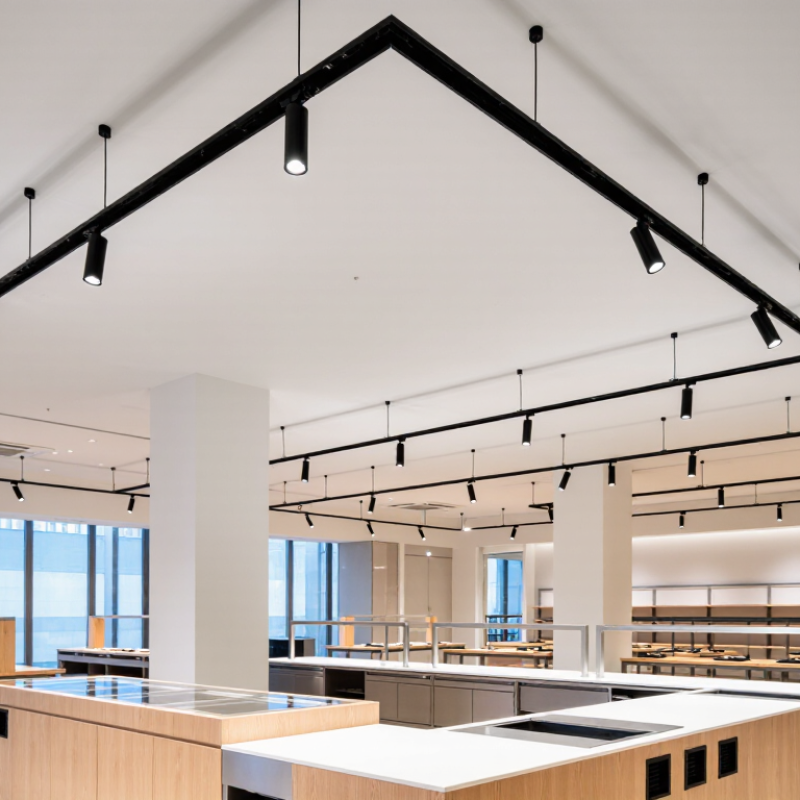
A rail light is a luminaire that attaches to an energized track, allowing its position or direction to be adjusted. It is more than a lamp on a movable base. The rail carries electrical power, while an adapter connects each fixture to the track and helps hold it securely. Some systems use different track profiles or electrical arrangements, so similar-looking parts may not be compatible. Check the rail and adapter specifications together.
Inside the fixture, the LED module produces light, and a driver regulates the electrical supply. A reflector or lens shapes the beam, from a narrow accent on a display to a wider pool across a work surface. The housing supports these parts and helps manage heat. Small details matter. For example, a heavy fixture needs a stable connection, while a poorly matched driver may cause flicker or reduced performance. Dimming compatibility also deserves attention; it is easy to assume that every LED rail light dims smoothly, but that is not always true. For global projects, review voltage, track type, beam angle, and replacement-part access before ordering. A tidy installation can still hide a mismatch.
How to Match Rail Light Types to Your Space and Purpose
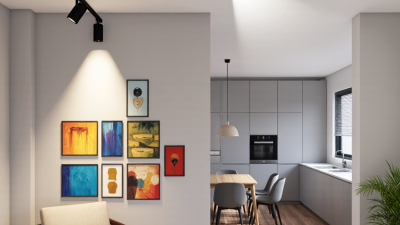
Start with purpose. In a kitchen, narrow-beam adjustable spots can highlight a prep surface, but may leave dark gaps between pools of light. For a living room, wider beams or several heads can create softer coverage. A gallery or shop display often benefits from directional spots aimed at artwork or products. Keep the beam out of visitors’ eyes.
Ceiling height matters. High ceilings may need tighter beams or greater output to bring useful light down to a surface. Low ceilings can feel harsh with concentrated spots. Wall-washing optics spread light across shelves or textured walls. At desks and counters, position heads to reduce hand shadows and reflections. Test at night. Daylight can hide uneven patches.
Before ordering, confirm the rail profile and electrical system match the light heads; track systems are not universally interchangeable. Check dimming compatibility, color temperature, and local electrical requirements with a qualified supplier. Warm light may suit a lounge, while neutral white can keep work areas visually clear. These are starting points, not rules. A tidy drawing can still mislead; a temporary layout may reveal glare you missed on paper.
| Buying Tip | Rail Light Type | Best Suited To | Key Specification to Check | Practical Matching Advice |
|---|---|---|---|---|
| 1. Define the lighting task first | Adjustable spotlight | Artwork, product displays, architectural details, and focused task areas | Beam angle, aiming range, lumen output, and glare control | A narrow beam, often around 15°–30°, creates a concentrated highlight. Use a wider beam when the target is larger or softer coverage is preferred. |
| 2. Choose a beam that fits the area | Floodlight track head | Retail floors, reception areas, and general accent lighting | Beam angle and spacing between fixtures | Flood beams commonly cover a broader area than spot beams. Test fixture spacing and aiming in the actual space to reduce dark gaps and uneven brightness. |
| 3. Match the optic to the surface | Wall washer | Feature walls, galleries, corridors, and vertical displays | Wall-washing optic, mounting distance, and aiming instructions | Wall washers are designed to distribute light more evenly across a vertical surface. Follow the supplier’s spacing and setback guidance for the selected model. |
| 4. Check color quality for the contents | High-CRI spotlight or floodlight | Clothing, food, artwork, cosmetics, and other color-sensitive displays | Color Rendering Index (CRI), correlated color temperature (CCT), and consistency between fixtures | CRI 90 or higher is often selected where accurate color appearance matters. Choose a CCT that suits the interior and keep it consistent within each viewing area. |
| 5. Consider adjustable direction and beam shape | Gimbal or adjustable track head | Spaces where displays, furniture, or exhibits may change over time | Tilt and rotation range, beam angle, and locking or aiming mechanism | Confirm that the head can reach the intended target without unwanted spill light. Check the fixture’s adjustment limits before specifying it for sloped or high ceilings. |
| 6. Select the track system before ordering | Single-circuit, two-circuit, or three-circuit track fixture | Projects requiring one or multiple independently controlled lighting groups | Track profile, circuit configuration, electrical rating, connector type, and local supply voltage | Track heads and rails are not universally interchangeable. Confirm the exact track standard and electrical compatibility with the supplier, especially when sourcing across markets. |
| 7. Verify installation and operating conditions | Linear track light or pendant track fixture | Worktables, counters, hospitality settings, and long display zones | Fixture length, mounting method, dimming compatibility, IP rating, and maintenance access | Check ceiling height and clearance, the required dimmer or control protocol, and the environment. Use an appropriate ingress-protection rating where moisture or dust is expected. |
Which Brightness, Color, and Beam Specifications to Compare
For rail lights, compare delivered lumens and measured illuminance, not wattage alone. A 20-watt head can look bright on paper yet leave a display shelf dim. EN 12464-1:2021 lists 300 lux for sales areas and 500 lux for checkout counters; treat these as reference points, then verify the actual task and layout. The IES RP-2-20 retail-lighting guide also emphasizes vertical illumination, which helps products read clearly from the customer’s viewing angle. Measure at shelf height. It is easy to overlook.
Color temperature changes how finishes appear. Warm 2700–3000 K light can suit wood and textiles, while 3500–4000 K often gives a cleaner impression for merchandise. These are starting ranges, not rules. Check color-rendering data, especially R9 when displaying reds, cosmetics, or food. The IES Lighting Handbook explains that correlated color temperature alone does not describe color quality; inspect sample materials under the proposed light before ordering.
Beam angle controls the shape and overlap of each pool of light. Narrow beams create crisp accents on small objects, but may produce harsh hotspots; wider beams cover shelves more evenly. Compare beam angle, center-beam intensity, and spacing together. A 24-degree beam is not automatically better than a 36-degree beam. Ask suppliers for photometric files, then review a layout or test one track section. Real rooms have dark ceilings, glass, and odd corners; calculations can miss them.
How to Check Track Compatibility, Safety, and Certifications
Before comparing brightness or finish, identify the exact track system already installed. Check its profile, contact arrangement, circuit type, and rated voltage against the rail light’s specifications. Similar-looking tracks may use different adapters. A fitting that clicks into place is not necessarily electrically compatible.
Small details matter. Measure the track opening and inspect the adapter shape; a few millimeters can prevent a secure fit. Confirm the light’s wattage stays within the track’s stated load limit, and check whether its dimmer works with your existing control. Product photos can be misleading. I would not treat a matching appearance as proof of compatibility, even when the seller’s description sounds confident.
For safety, review the installation instructions, grounding details, and information about insulation and heat management. Ask for documentation tied to the exact model, not just a general certificate or a logo on a webpage. Check whether the stated certification applies to the destination market, and verify the document with its issuing organization when possible. This takes extra time, but it can reveal an expired report or a certificate covering a different product. Some listings leave out useful details; request the missing specifications before placing a bulk order.
How to Evaluate Suppliers, Pricing, and International Shipping
Match the rail light to the track type, voltage, and intended room before comparing prices. Ask suppliers for the beam angle, color temperature, color-rendering data, and rated service life. Request technical sheets and destination-market compliance documents, then verify that the details match the quoted product. A sample helps. Test it on your own track, since a photo cannot show fit, glare, or dimming behavior.
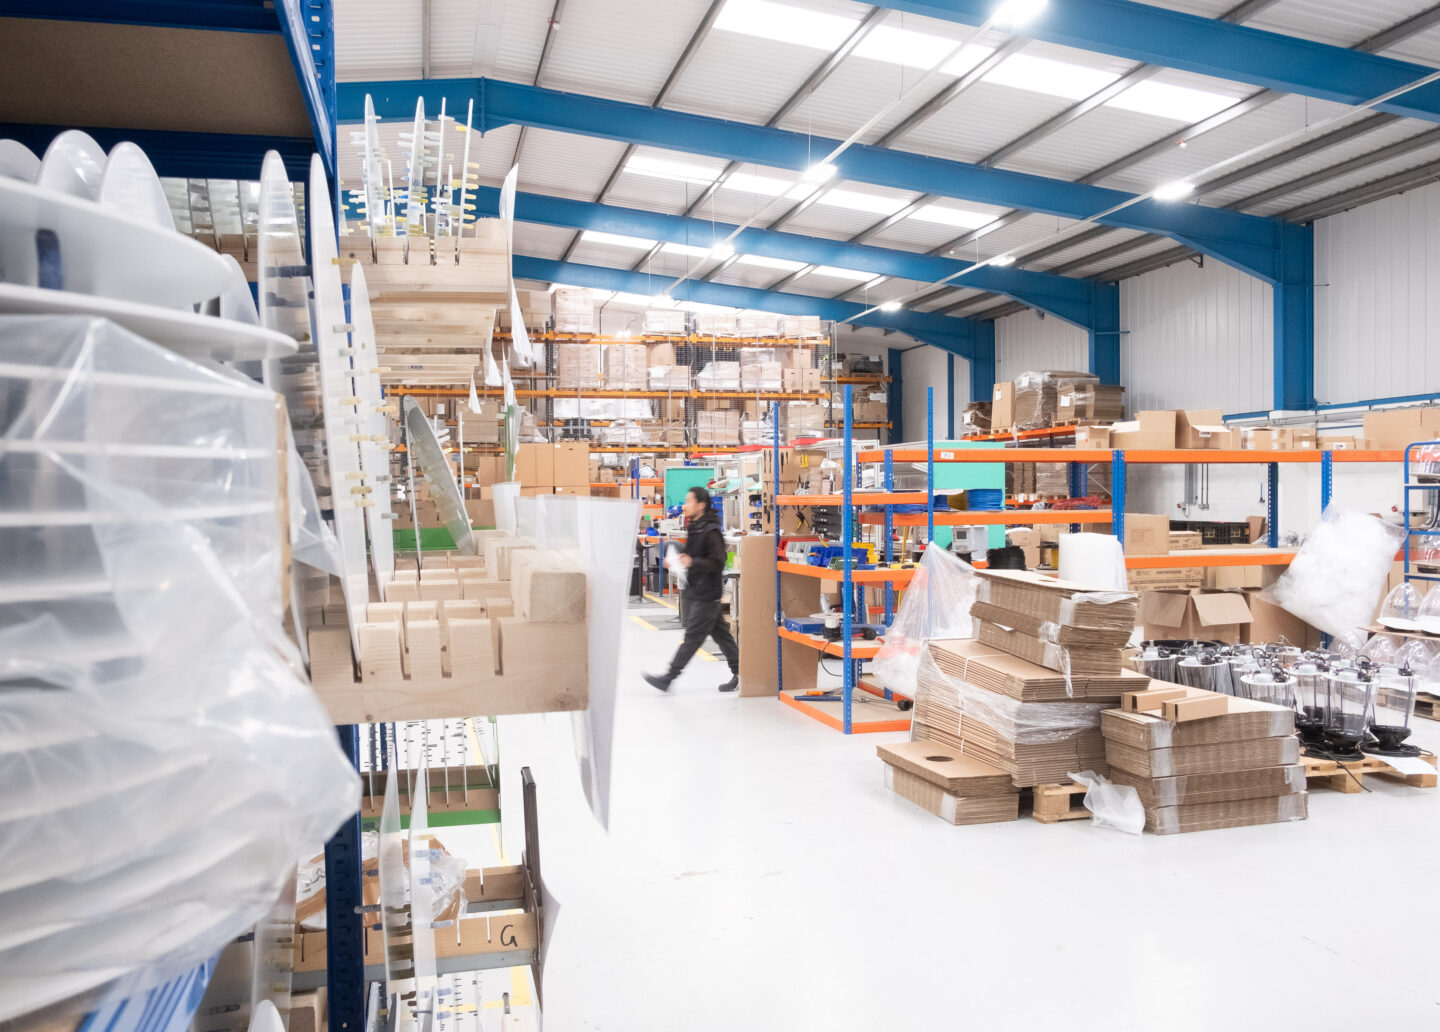
Check supplier reliability through recent production photos, reference customers, and clear answers about quality checks. Ask how defects are handled and whether replacement parts are available. Compare itemized quotes, not just unit prices. Include minimum order quantities, packaging, tooling, and payment terms. A low quote can become expensive. I have seen buyers overlook small fees; even a careful spreadsheet can miss one.
For international shipping, confirm the shipping term, who arranges freight, and when risk transfers. Get estimates for freight, insurance, duties, and destination handling to calculate landed cost. Ask for carton dimensions, gross weight, protective-packaging details, and realistic production and transit times. Confirm that the invoice and packing list will describe the goods accurately. Delays happen. Build in extra time, and recheck the schedule before booking installation.
7 Rail Light Buying Tips for Global Buyers
Suggested supplier evaluation priorities for comparing product quality, pricing, and international shipping.
Use these suggested weights as a starting point, not as industry benchmark data. Check applicable safety requirements and photometric reports, compare total landed cost rather than unit price alone, and confirm shipping terms, lead times, warranty coverage, and after-sales support before placing an order.
Related Posts
-
How to Choose the Best Track Lights for Your Space?
-
2026 Best Track Lights for Home and Office Lighting Solutions?
-
What Are the Top 10 Types of Track Lights for Global Buyers?
-
Why Choose LED Rail Lights for Global Projects?
-
Top Strategies for Choosing the Best Track Lights for Your Space
-
Why Are Track Lights the Best Choice for Modern Lighting Solutions?