shining bright

a British lighting manufacturer with a difference

Obsessed with solving problems, not just selling 'stuff': we were born from a belief that the lighting industry deserved better.

How to Choose LED Emergency Lights for Your Business?

I can write the introduction, but no source articles or verifiable expert quotation were included. To meet your E-E-A-T requirement without inventing a report, expert, or quote, please provide the source material or the expert’s name and verified statement.

How to Choose LED Emergency Lights for Your Business?

Understand Emergency Lighting Requirements for Your Business

Emergency lighting is part of a safe exit plan, not just a fixture choice. Requirements depend on your building’s use, layout, occupancy, and local fire and building codes. A café, warehouse, and clinic may need different coverage. Check applicable rules with your local authority and a qualified electrical or fire-safety professional before purchasing equipment.

Walk the site during planning. Mark exits, corridors, stairwells, changes in floor level, and areas where staff operate equipment. Confirm required light levels, backup operating time, fixture placement, and whether exit signs need illumination. These details vary by location, so avoid relying on a generic checklist. Small details matter. A shadowed stair landing can be easy to miss on a floor plan.

Choose units suited to the environment, such as damp or dusty service areas, and verify that batteries can support the required operating period. Plan routine tests and keep dated records of results, repairs, and battery replacement. Keep records. It is tempting to assume a light works because its indicator is green, but that check may not reveal every failure. Have a competent person test the system under the conditions required for your building.

Assess Building Layout, Exit Routes, and Risk Areas

A useful emergency-lighting plan starts with the building itself, not a fixture catalogue. Walk each floor during normal working hours and note corridors, stairwells, changes in floor level, and doors that may be hard to spot. Look up, too: shelving, beams, and partitions can block light. Small details matter.

Trace every exit route from occupied rooms to a safe exit. Check that signs and lights remain visible around corners and near doorways. A bright fitting at one end of a corridor may leave a dark patch halfway along. On stairs, aim for even coverage across landings and steps, where shadows can hide edges. Test the route from different viewpoints, not just from the entrance.

Pay extra attention to areas where people may need more time to respond, such as kitchens, workshops, storage rooms, and electrical spaces. Consider smoke, steam, dust, or equipment that could obstruct a light source. Choose suitable fittings and placement for the conditions, then confirm coverage against the building’s emergency-lighting requirements. Floor plans help, but they can be outdated. I have seen a newly added partition change a route more than expected. Recheck the layout after renovations, and keep inspection records so faults do not quietly persist.

How to Choose LED Emergency Lights for Your Business? - Assess Building Layout, Exit Routes, and Risk Areas
Area or Feature What to Assess LED Emergency Lighting Approach Placement and Selection Checks
Exit corridors Corridor length, turns, intersections, doorways, changes in level, and any areas that could be obscured by shelving or partitions. Use emergency luminaires selected to provide continuous visibility along the escape route when normal power fails. Check the full route, including bends and junctions. Use photometric calculations for spacing; suitable spacing depends on mounting height, luminaire output, obstructions, and applicable code requirements.
Stairs and ramps Landings, changes in direction, handrails, steps, ramps, and transitions between floors. Provide emergency illumination that helps occupants see walking surfaces and changes in level. Assess each flight and landing, with particular attention to corners and changes in elevation. Confirm that fixtures and their power supply remain available during a power outage.
Exit doors and exit discharge Exit locations, door hardware, exterior steps, ramps, sidewalks, and the route from each exit toward a safe public way or designated safe area. Provide emergency illumination where needed along the route to and through exit doors, and outside where the discharge path requires it. Check that occupants can identify the exit and see the route immediately beyond it. Exit signs and emergency lighting serve different functions; assess both where required.
Large open areas Open-plan offices, assembly areas, and other spaces where furniture, temporary partitions, or crowd movement may make routes difficult to identify. Consider broad-area or anti-panic coverage as required by the building layout and applicable life-safety rules. Review the space from likely occupant positions, not only from the main aisle. Reassess coverage when layouts or partitions change.
Electrical and mechanical rooms Panels, controls, equipment access points, and the route workers use to leave the room. Consider emergency illumination at work and access locations when loss of normal lighting could create a hazard or obstruct safe egress. Base coverage on a documented hazard assessment and applicable workplace and building requirements. Do not treat task lighting as a substitute for required egress lighting.
Warehouses and loading areas High racks, aisles, vehicle routes, changes in floor level, loading docks, and potential obstructions to light. Select fixtures and mounting locations to suit the actual ceiling height and aisle arrangement. Check that racks and stored goods will not block the light reaching escape routes. Review dock edges and stairs, and coordinate pedestrian egress lighting with vehicle operations.
Outdoor escape routes Weather exposure, route surfaces, steps, gates, exterior corridors, and the connection to a safe destination. Choose equipment rated for its installed environment and suitable for the expected temperature and moisture conditions. Confirm the fixture’s environmental rating, mounting details, and emergency power arrangement. Include exterior portions of the escape route in the site survey.
Power source and system type Building size, circuit arrangement, outage duration requirements, maintenance capacity, and whether a central emergency power system is available. Compare self-contained battery-backed luminaires with fixtures supplied by an approved central emergency power system. Verify compatibility with the emergency supply, battery or system capacity, charging arrangements, and the required operating duration under locally adopted rules.
Inspection and testing Access to test controls, indicator visibility, maintenance records, battery condition, and the ability to test the complete system. Select equipment that can be inspected and tested in accordance with its instructions and the applicable regulations. Set a documented inspection and test schedule. In the United States, adopted life-safety rules commonly include a 90-minute emergency-operation test; confirm the requirements and test intervals for the local jurisdiction.
Planning note: Treat this table as a site-assessment guide, not a substitute for code review or a lighting design. Required locations, illumination levels, operating duration, testing, and exit-sign provisions vary by jurisdiction, building use, and adopted code edition. Have a qualified professional verify the design and applicable requirements.

Compare LED Emergency Light Types and Features

LED emergency lights usually fall into three practical types: self-contained units, remote-head systems, and exit-sign combinations. Self-contained models keep a battery and lamp in one housing, making them convenient for corridors, stockrooms, and small offices. Remote-head systems connect one power unit to separate light heads, which can cover a longer hallway or several corners. They need careful placement and wiring. Combo units pair an exit sign with emergency lighting, saving wall space near doors.

Compare more than the fixture style. Check rated backup time, light output, beam direction, battery replacement access, and whether the unit supports routine testing. A bright lamp can still leave a dark patch behind shelving. Walk the actual route and look for obstructions, not just the floor plan. Small rooms differ. For damp, dusty, or temperature-variable areas, confirm the fixture is rated for those conditions. LED technology often uses less energy and can reduce lamp replacements, but battery condition still needs attention. A common planning mistake is choosing by price alone; I would reconsider that choice if the beam misses a stair landing. Have a qualified installer check placement and applicable local requirements before purchase.

How to Choose LED Emergency Lights for Your Business?

Compare common emergency-light operating modes. “Yes” indicates the light operates in that mode; “No” indicates it does not.

Non-maintained lights operate only during a power failure. Maintained lights operate during normal conditions and a power failure. Sustained lights use one light source for normal operation and another for emergency operation. Check local regulations, required duration, and site conditions before selecting equipment.

Check Battery Runtime, Power Needs, and Safety Standards

How to Choose LED Emergency Lights for Your Business?

Battery runtime is more than a number on a product sheet. NFPA 101 (2021) sets a 90-minute emergency-illumination benchmark for applicable occupancies, with required floor-level illumination declining over that period. Confirm the rules that apply to your building, then check that the battery sustains the fixture’s stated output for the full duration. A datasheet is a starting point, not proof. Battery age, temperature, and connected load can affect real-world performance.

Match power needs to the routes people must use: corridors, stair landings, exit doors, and changes in floor level. Check emergency-mode lumens, beam coverage, and wattage under battery operation—not just normal-mode figures. A bright spot beneath a fixture can still leave a stair turn dim. UL 924 is a relevant safety standard for emergency lighting equipment; verify certification and installation requirements with a qualified professional. Small details matter.

Tips: Walk the escape route after dark and look for shadows at corners and doorways. Test the lights under battery power, and record runtime and failures. Retest on schedule. It is easy to assume a green indicator means adequate coverage, but it cannot show whether light reaches the floor where people need it.

Plan Installation, Testing, and Ongoing Maintenance

Plan emergency lighting around the route people will actually walk, not just the floor plan. Mark exits, stair landings, corridors, and areas where a sudden outage could leave staff handling equipment or customers needing help. Choose fixtures with suitable coverage, battery backup, and visible status indicators; confirm mounting height and spacing with a qualified electrical professional. The U.S. Department of Energy notes that LEDs use at least 75% less energy and can last up to 25 times longer than incandescent lighting. That efficiency does not guarantee backup readiness. Batteries still need attention.

Build testing into a written maintenance calendar. NFPA 101 specifies a 30-second monthly functional test and a 90-minute annual test for applicable emergency lighting systems; confirm local requirements before setting your schedule. During checks, record each fixture’s location, test date, result, and corrective work. Test the real route. A lamp can pass in an empty hallway yet leave a stair turn dim. Replace weak batteries or failed units promptly, then retest them. Small details matter. Staff turnover can make handover notes imperfect, so keep the log near the electrical panel and assign a named person to review it. Keep access clear, and verify that repairs restore the intended light coverage.

Our story

When The Light Went On

The idea for Acrospire was formed in 2012 when founder Tim envisioned a different kind of lighting manufacturer: one that would not only deliver outstanding customer experiences but also prioritise fair treatment for its employees.

We’ve come a long way

Working from any nook and cranny we could find

Motivated by the belief the industry wanted and needed better, Tim shared his plan to establish his own venture with Hatty, who simply couldn't let him do it alone.

The rest, as they say, is history.

Protecting local jobs and ensuring the best quality possible.

The products sold should, where possible be manufactured here in the UK

Working from a rented office by day and assembling lanterns in a garage at night, Tim and Hatty set to work.

11 Years later

and a lot has changed

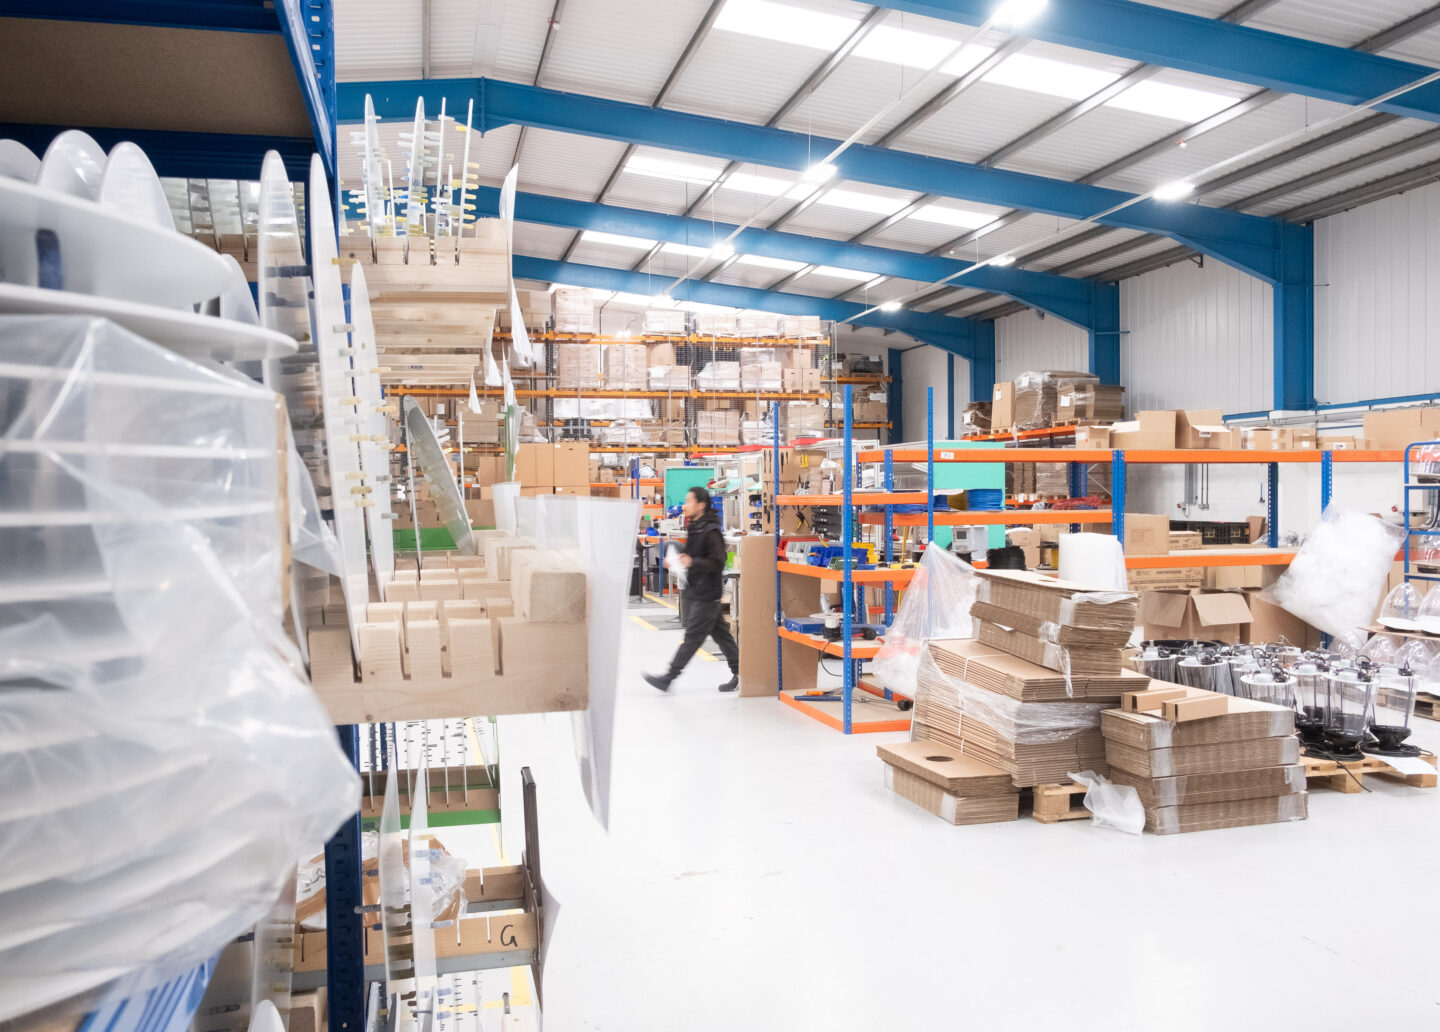
Acrospire now inhabits a 14000² ft manufacturing facility in Basingstoke, Hampshire. We’re a proud partner of the Made in Britain scheme, ISO9001 certified and a member of all relevant lighting industry trade bodies.

We've built a reputation to be proud of

Along with great relationships with our customers and a great team! We've attracted some of the most experienced members of the lighting industry, all by following one golden rule.

A simple ethos

Creating work to be proud of

That runs through all that we do. Customers who have made the switch to Acrospire have found working with us to be a breath of fresh air.

Market leading warranty

If you’re a professional in the lighting industry, you’re probably familiar with warranties that range from 3 to 10 years, with extensions available on special request or at additional cost. At Acrospire, where we’re proud to be different, we offer a market-leading simple 12-year warranty, as standard.

Tight Control on Quality

We focus on our customers not our competition. We manufacture our products in the UK: with the exception of our solar products, our supply chain is within a 60-mile radius of our factory in Basingstoke: to maintain greater control over quality. We al

Speed is key

Speed of response is crucial when it comes to resolving warranty issues. If we’ve made a mistake, we own it, get to the root cause, and fix it as quickly as possible. We believe in timely communication with our customers and making the resolution pro

Test and Test Again

We believe in independent testing and certification. Our new product development is in line with ISO 9001. Many of our products hold ENEC Certification. To meet the requirements of ENEC we also send random product samples for third party safety testi

Quality by design

Our product design is another key factor in our ability to offer a 12-year warranty. We value engineer rather than cost cut, never compromising on quality. We stick to our processes and engage with our supply chain to ensure that every product meets